The Ultimate Guide to Acrylic Block Panels
Combining Light & Privacy: Acrylic Blocks Offer a Modern Twist on a Classic Look
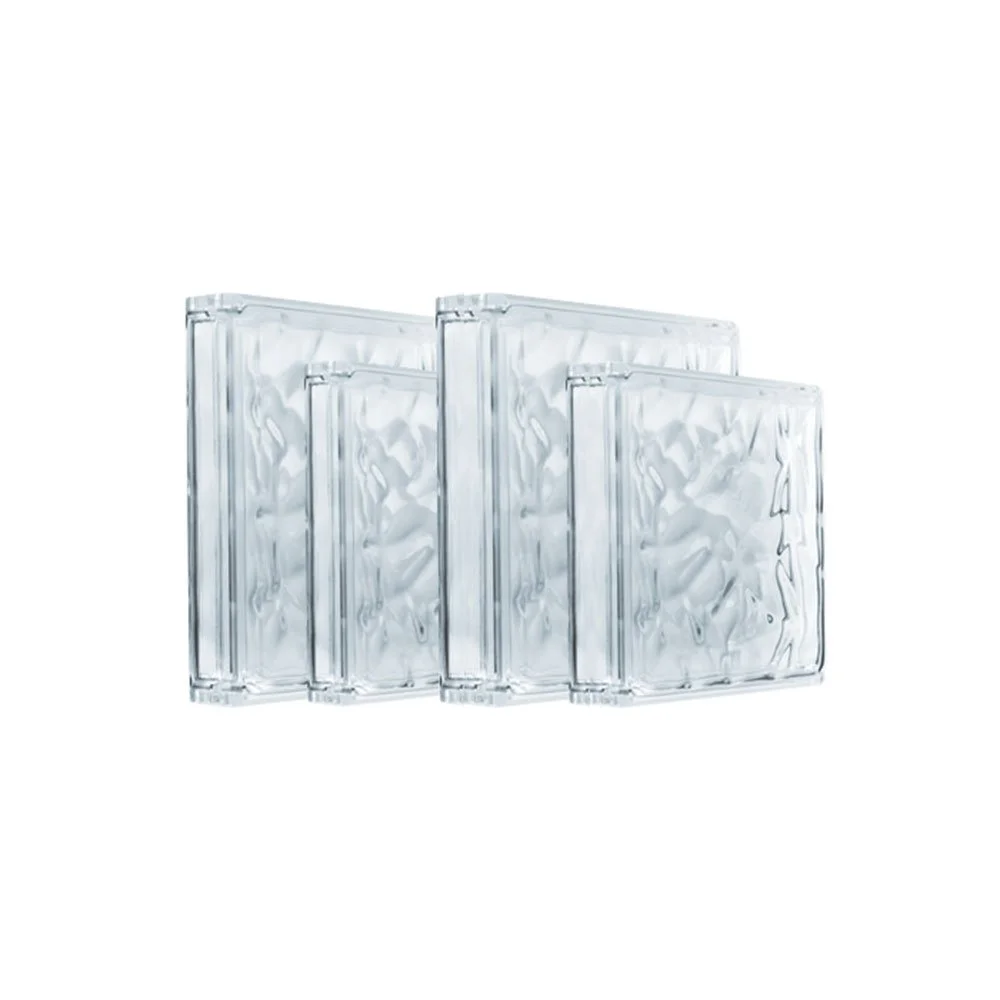
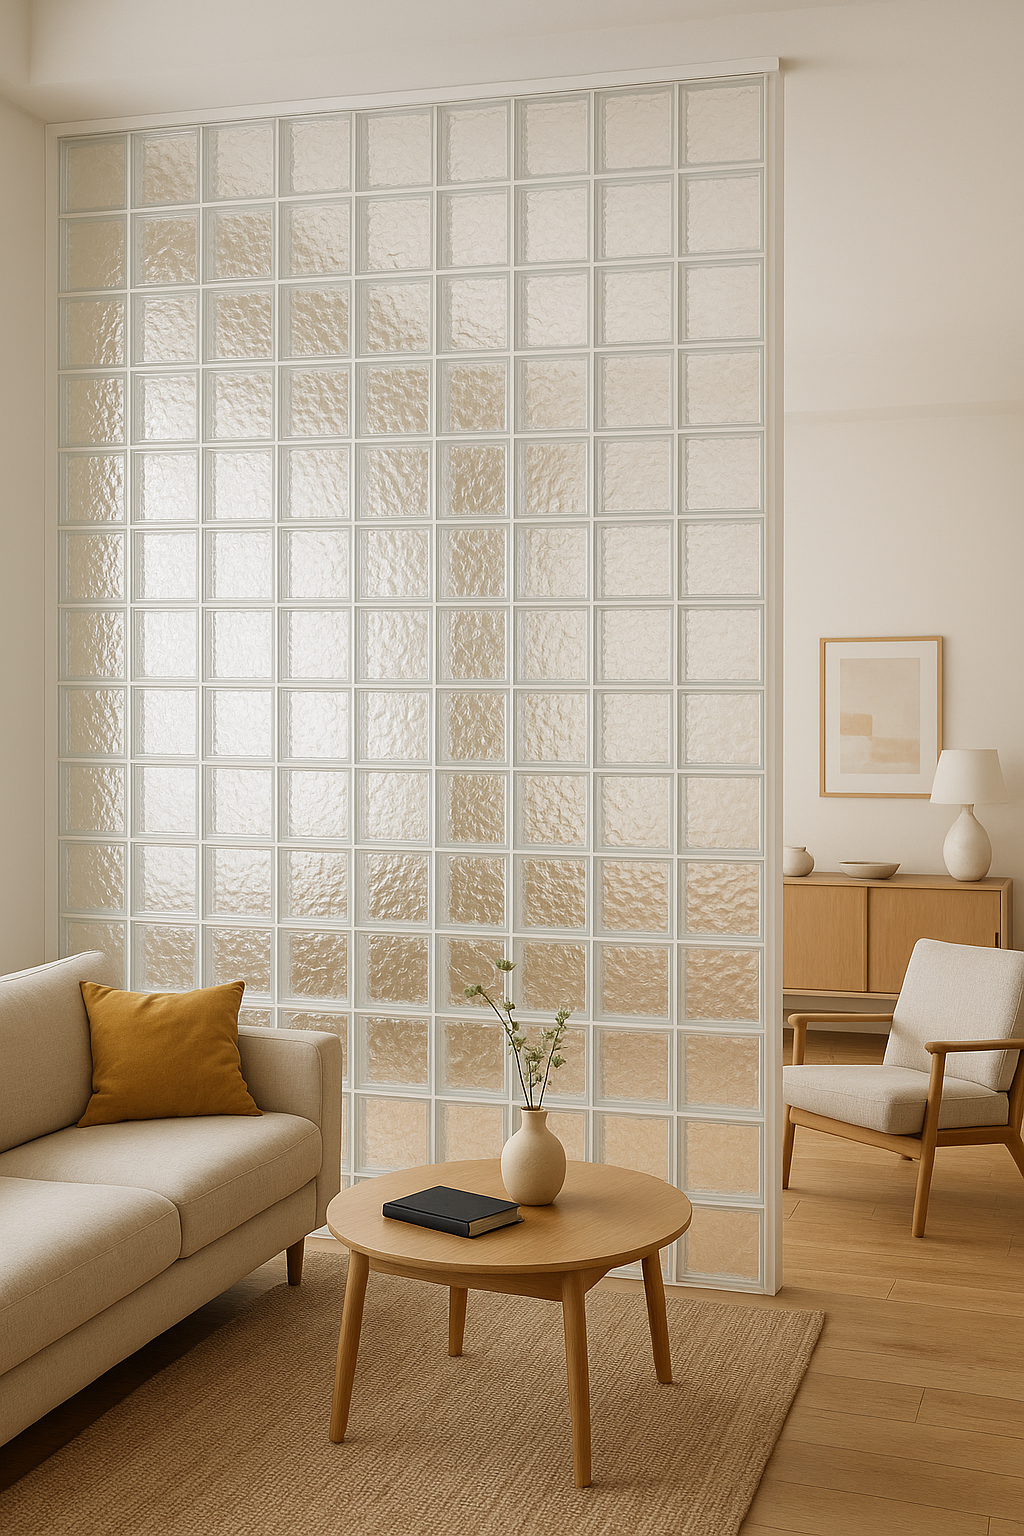
When you want to let in natural light without sacrificing privacy or design, Clear Acrylic Blocks are the perfect solution. Great for DIYers, interior designers, and commercial builders alike, these lightweight yet durable blocks are an updated take on traditional glass bricks — with even more benefits to love.

Whether you're building a partition wall, updating a bathroom, or creating a block window, acrylic bricks make it easy to execute your vision with style and efficiency.


Why Are Acrylic Blocks a Smarter Choice Than Glass?
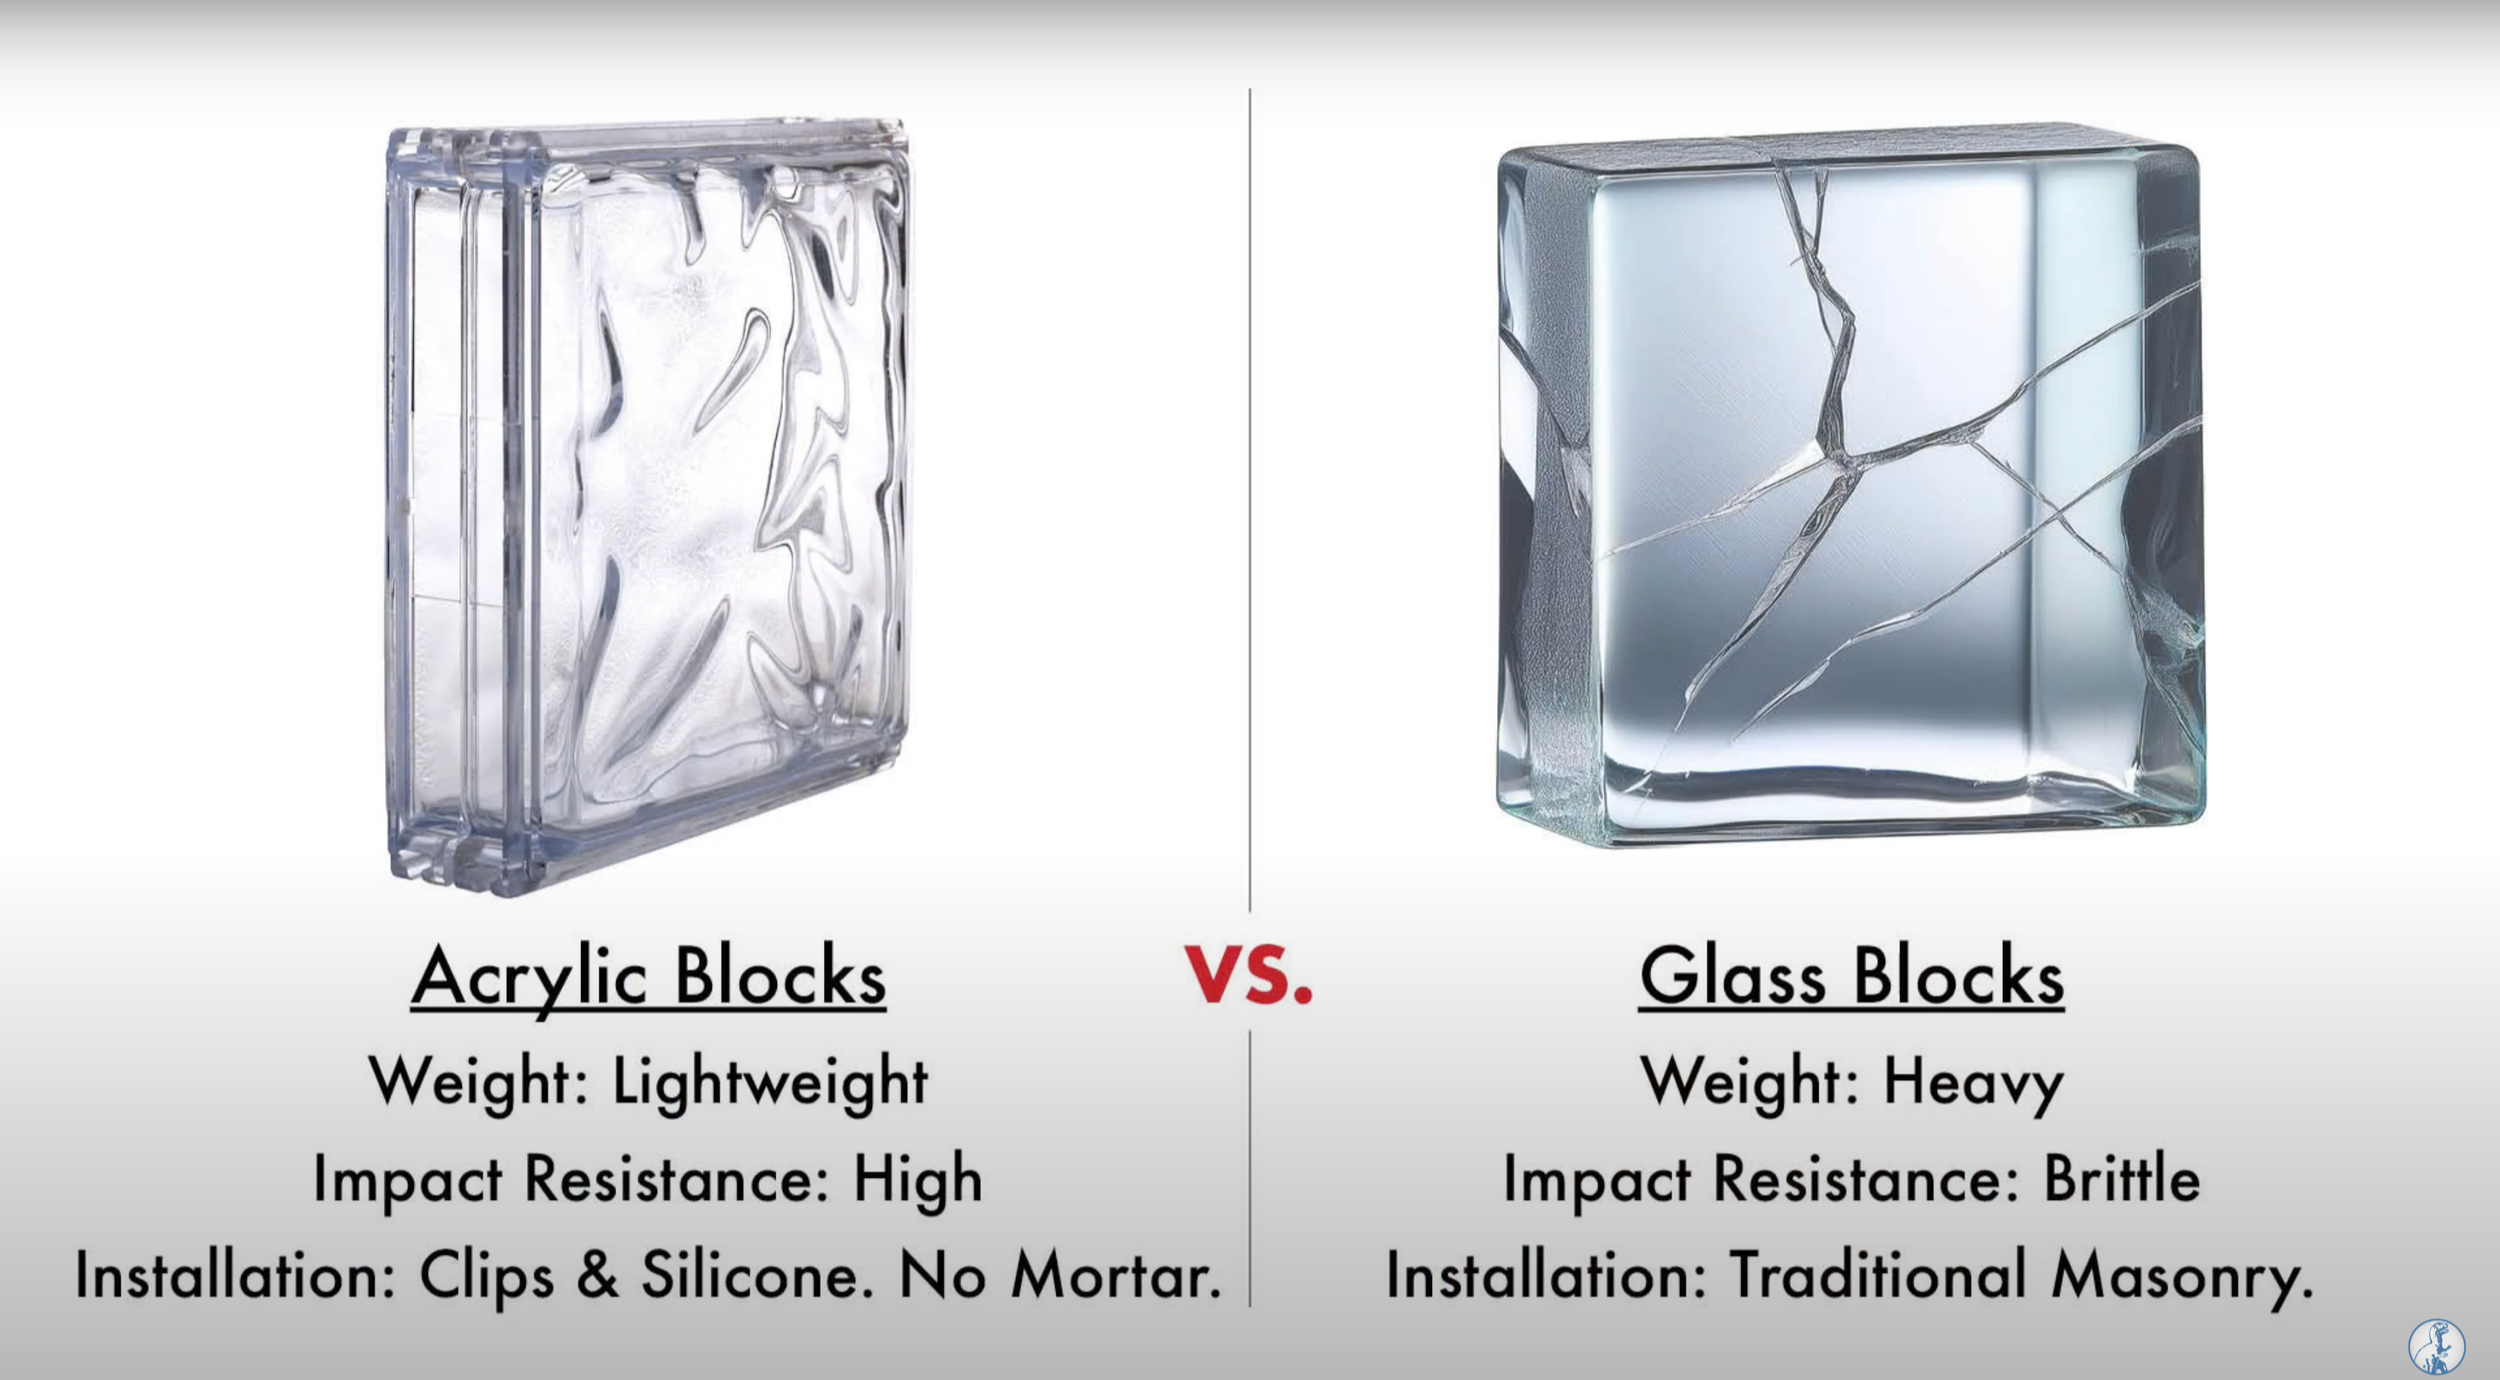
Acrylic blocks are 70% lighter than glass blocks, making them much easier to handle, transport, and install. That means faster job completion and less physical strain. Their interlocking design makes installation a breeze.
Despite their lightweight construction, plastic bricks are extremely durable, resisting cracks, chips, and scratches even in high-traffic environments.
Another major perk: Acrylic block windows are 33% more energy-efficient than traditional glass block windows. This helps improve thermal performance and reduce HVAC load, which is especially useful in sunrooms, bathrooms, and office spaces.
UV-Resistant, Indoors or Out
Unlike traditional glass blocks, these acrylic blocks are UV-resistant, which helps prevent yellowing or fading over time. This makes them suitable for both interior and exterior applications, including:
Shower walls and bath surrounds
Patio partitions and garden features
Office dividers and retail displays
Basement block windows
Privacy panels
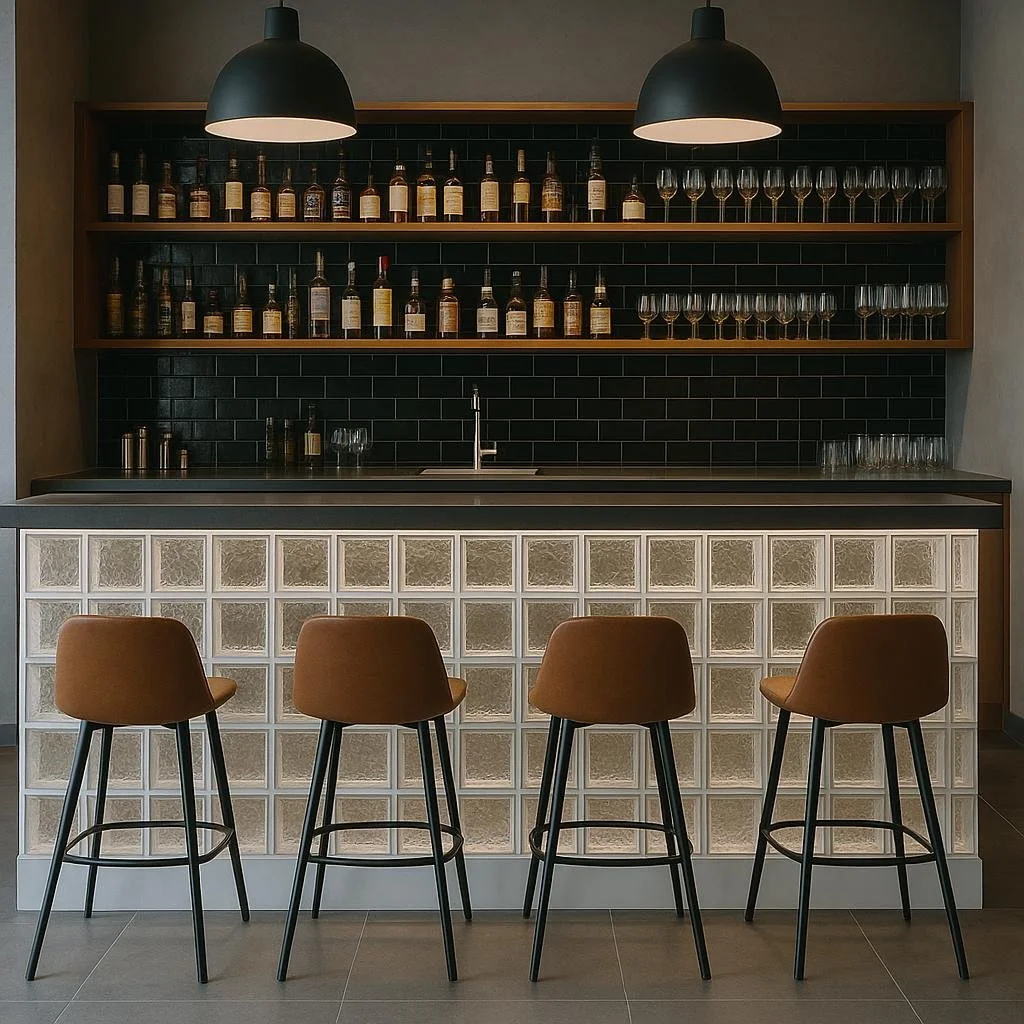
Bars and kitchen islands
Outdoor showers


Classic Patterns for Timeless Design
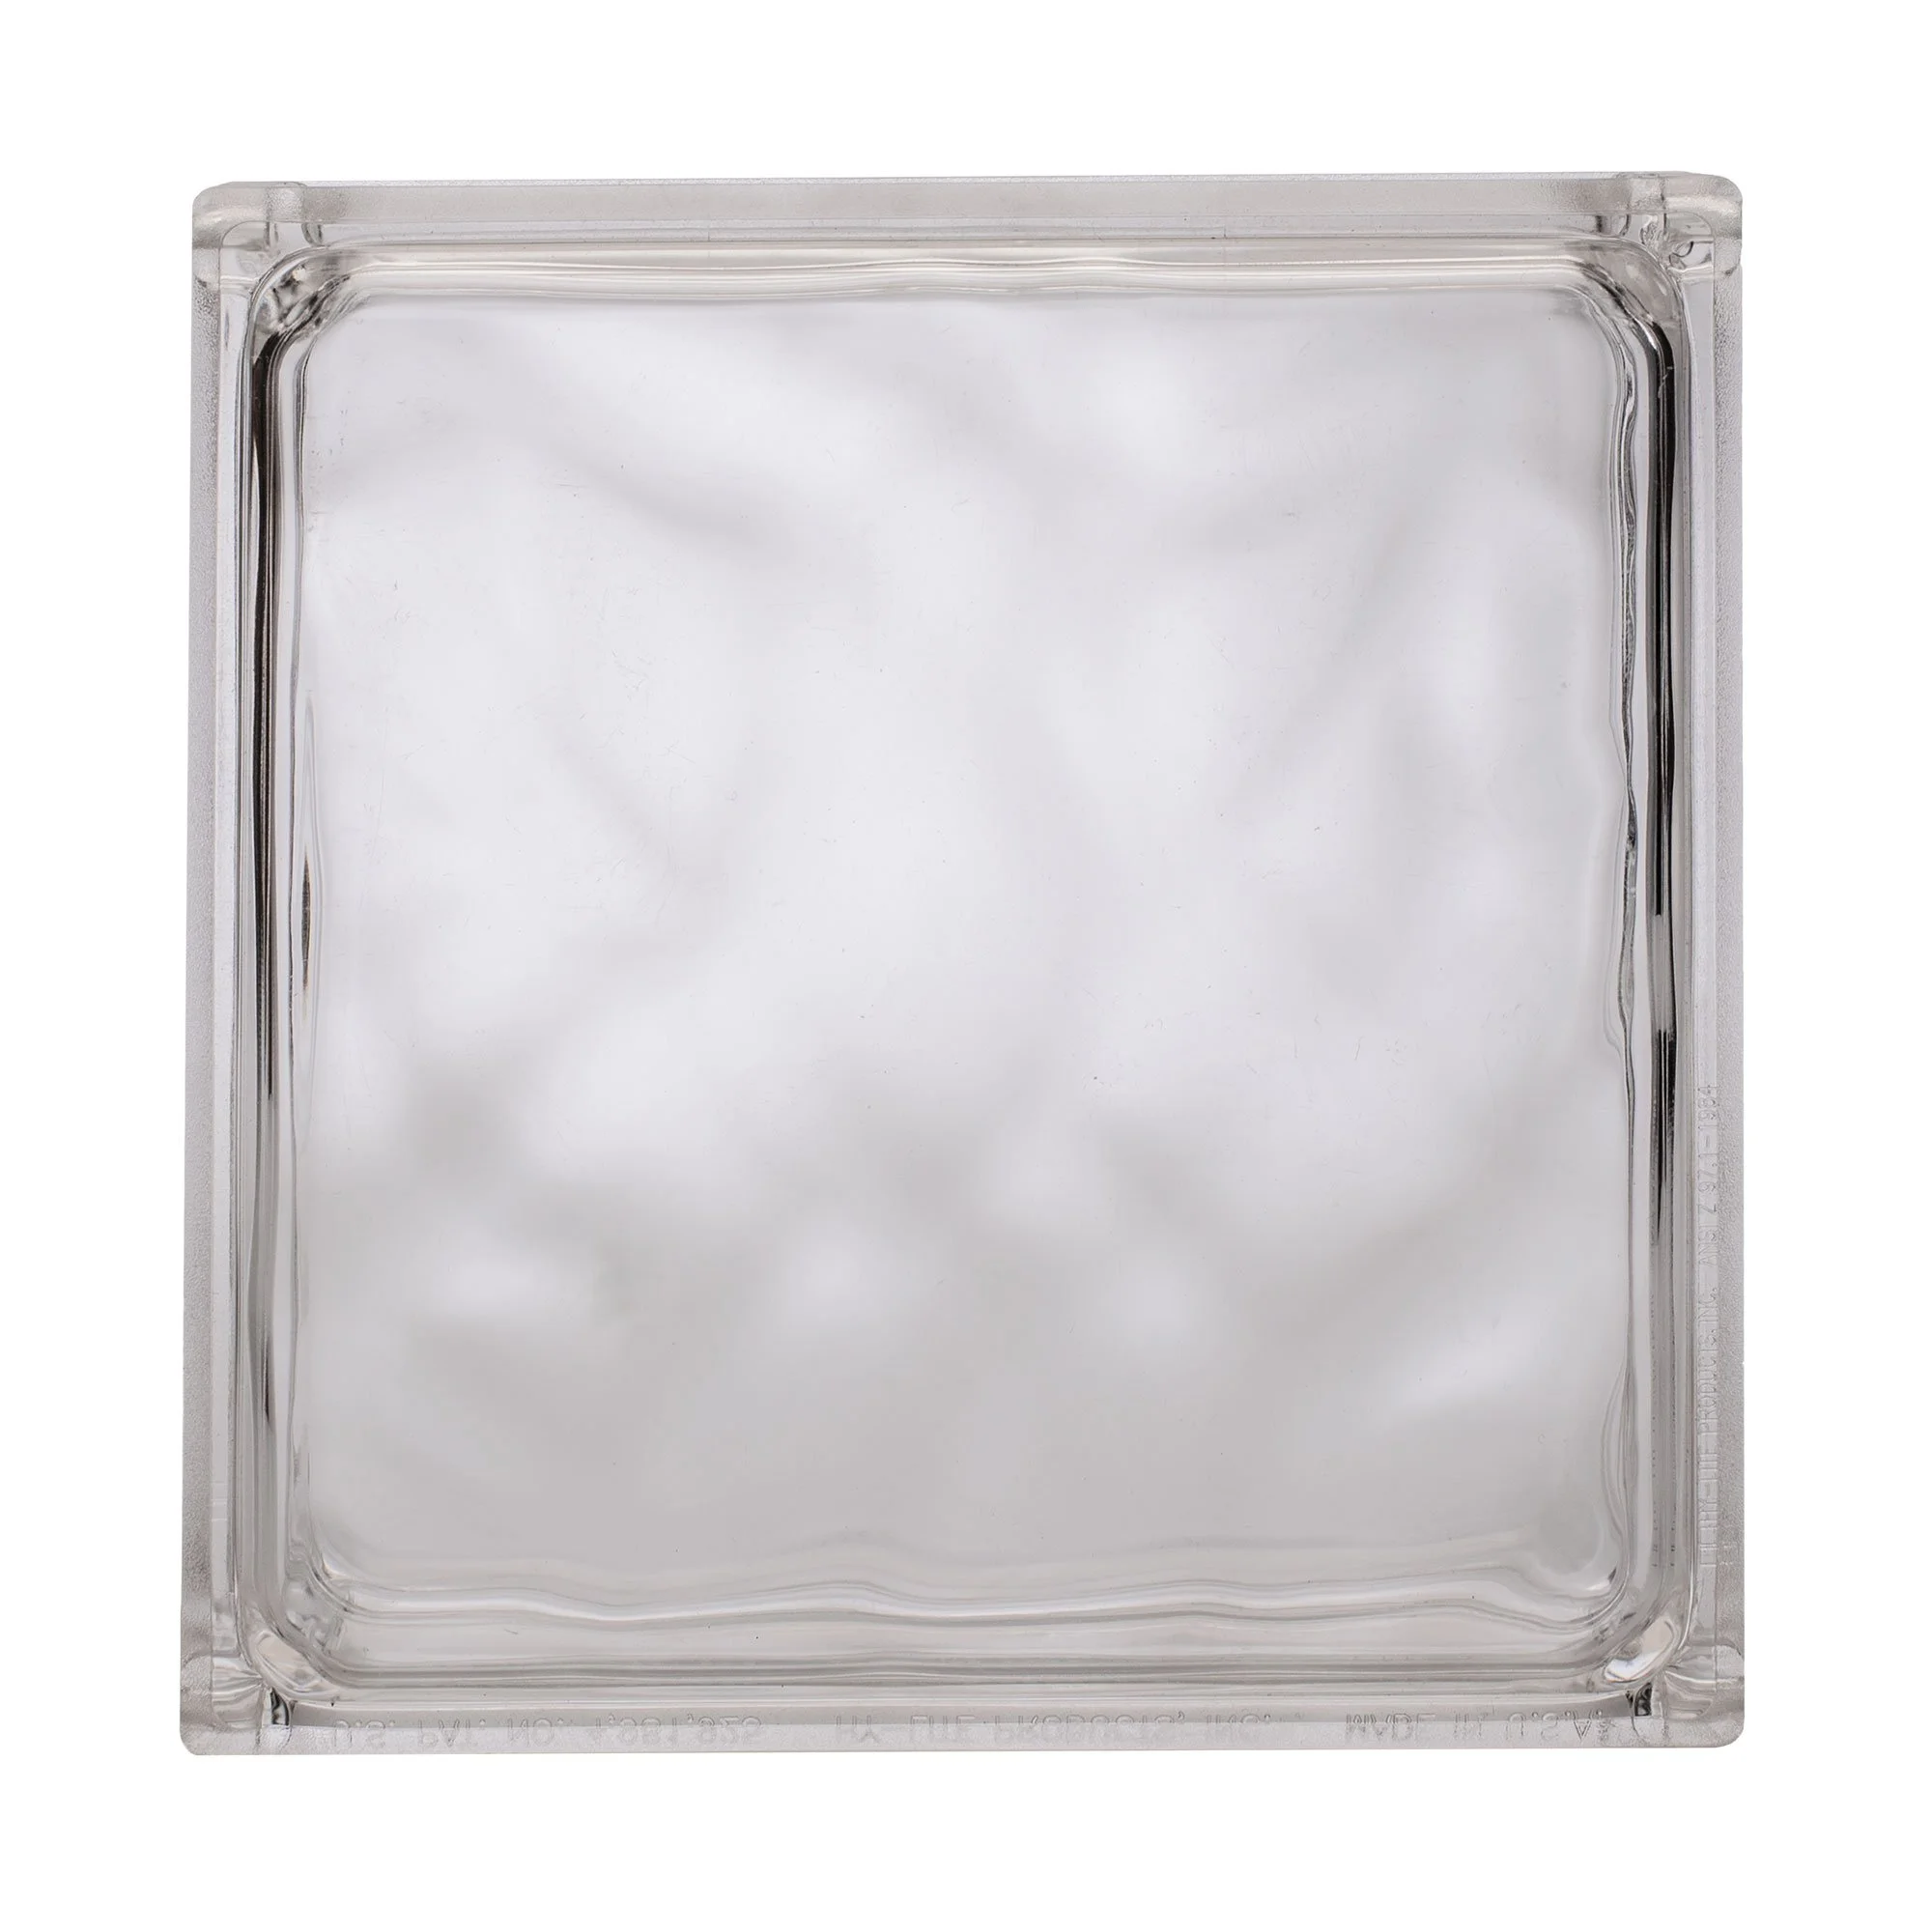


Multiple patterns allow you to choose a block style that complements your interior design concept. Outwater sells affordable acrylic blocks in classic wave pattern, cross-ribbed pattern, and frosted pattern.
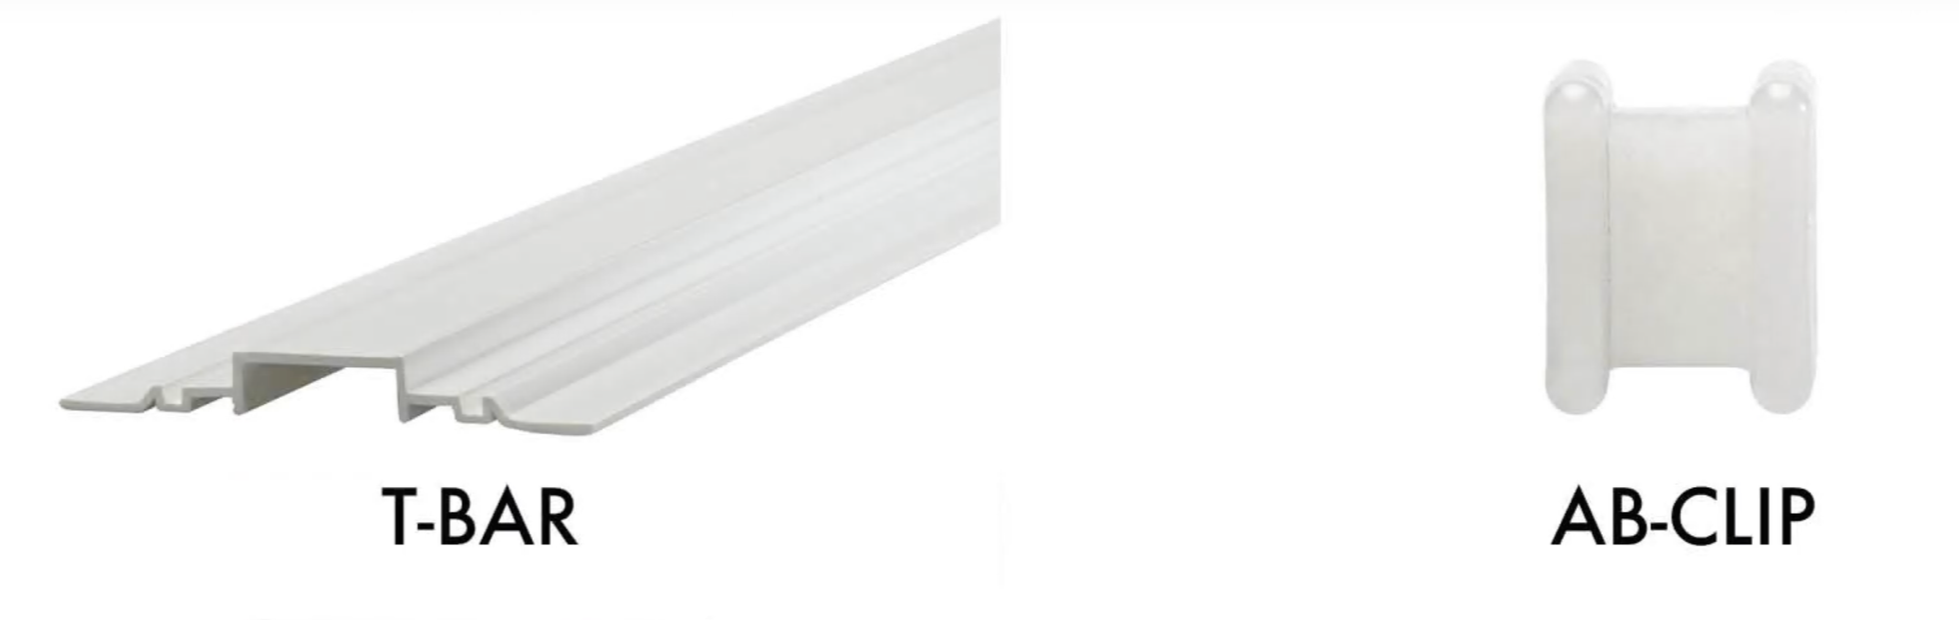
Easy Installation with Clip & T-Bar System
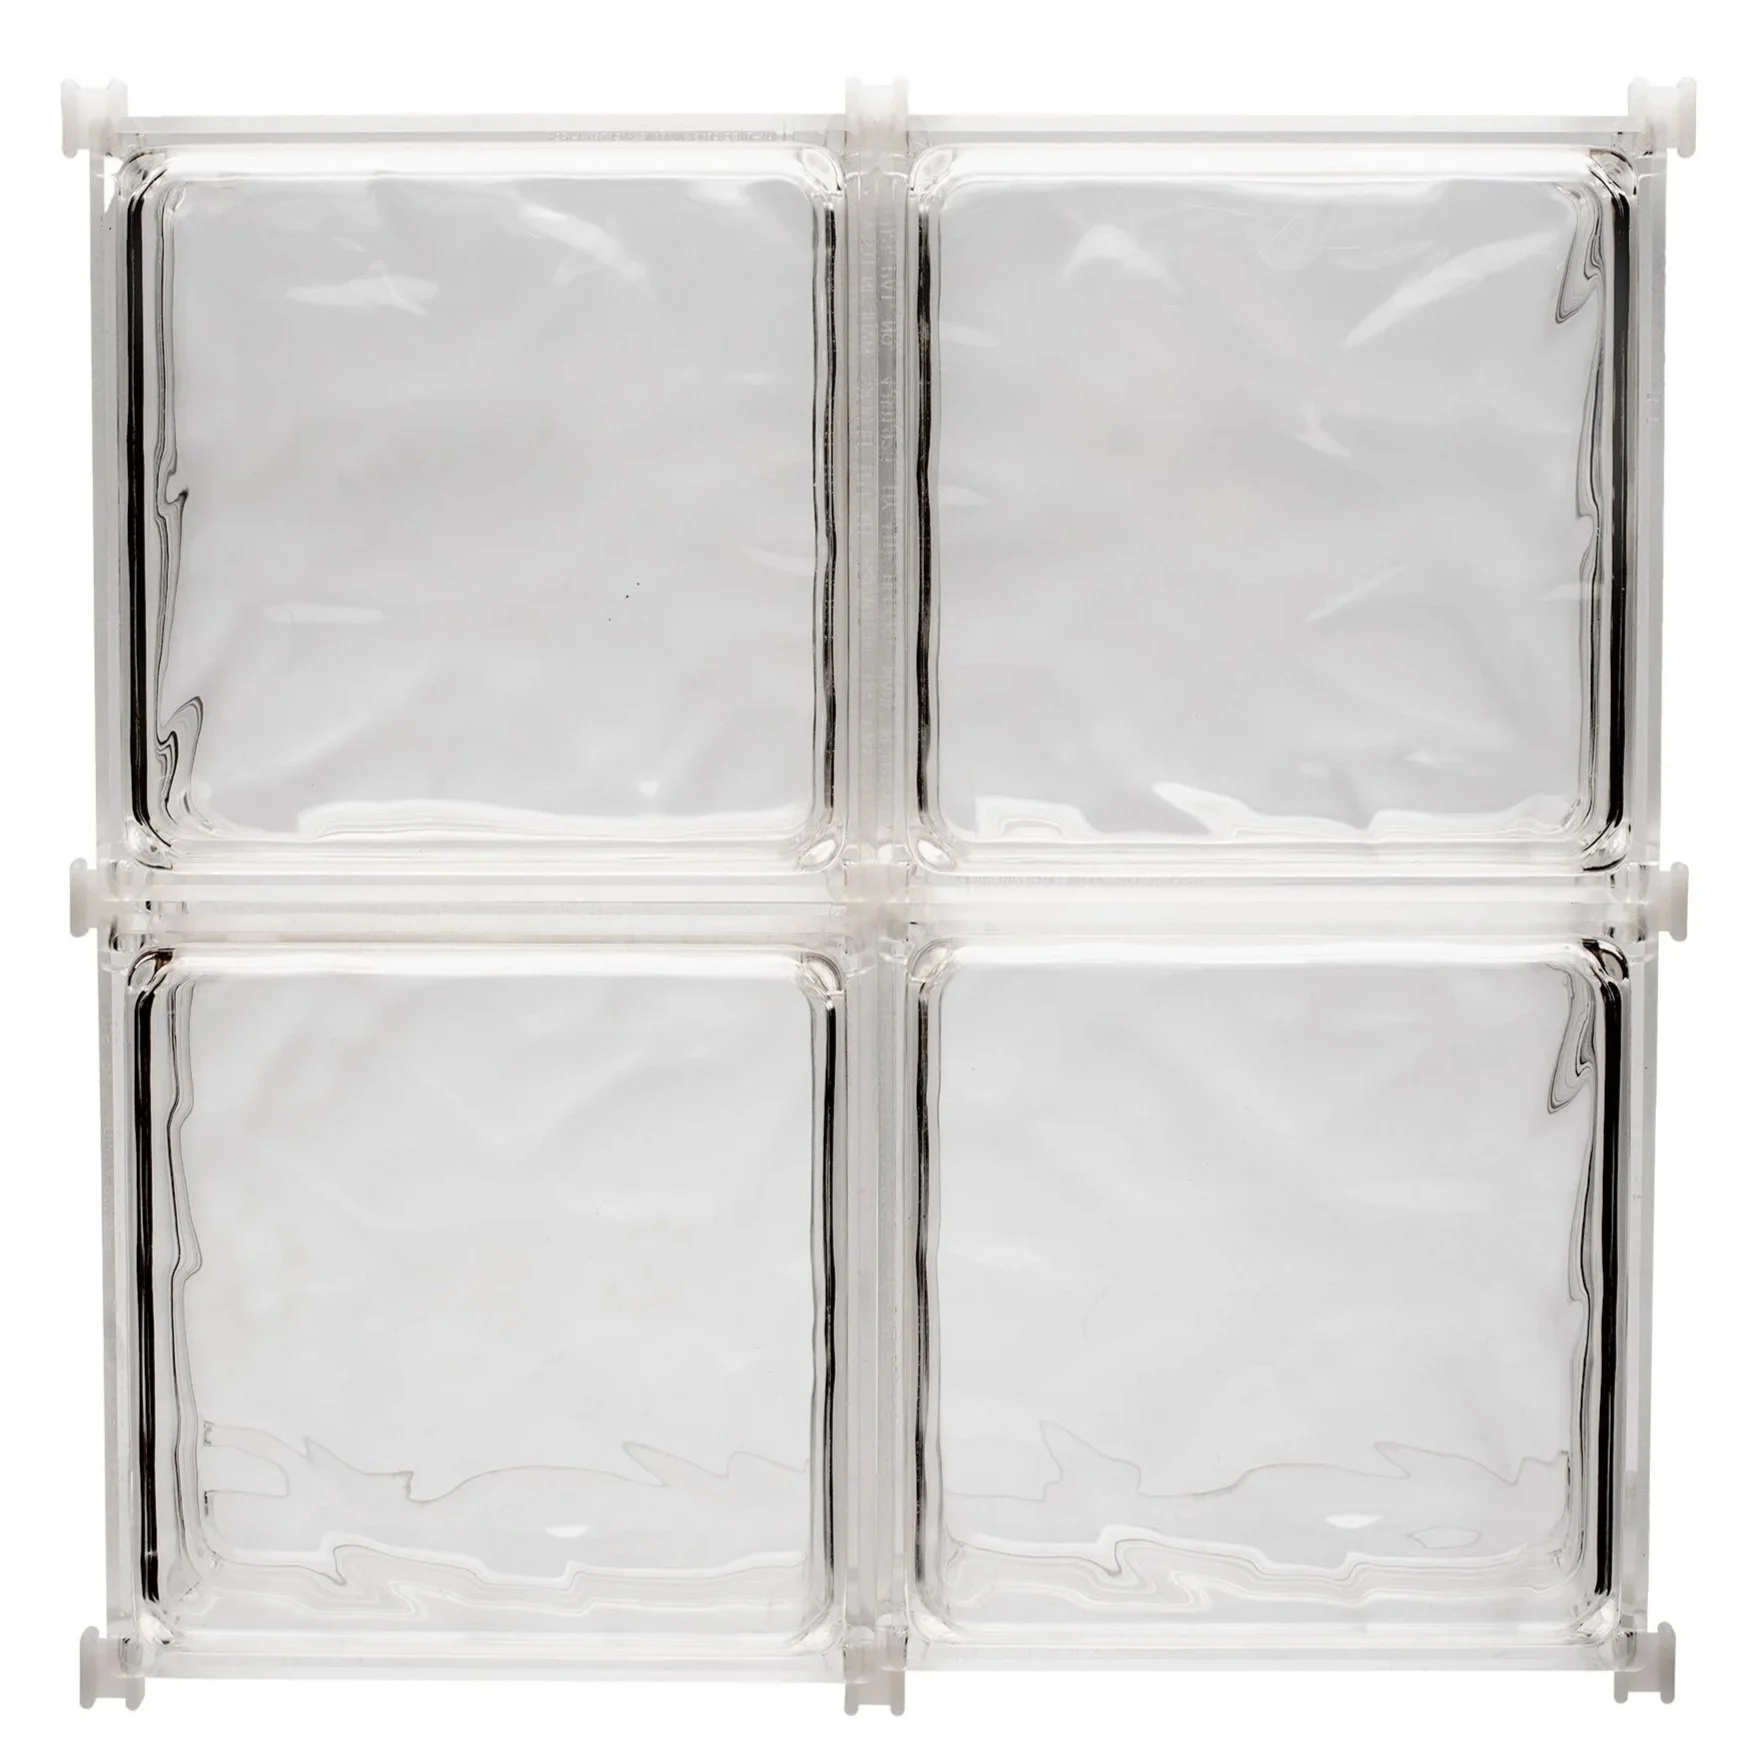
Each block has an interlocking edge for a secure fit.
Outwater offers panel clips (sold separately) that allows for DIY-friendly installation. Use them with our T-bar mouldings to create framed panels of any size.
INSTALLATION VIDEO
CARE AND CLEANING OF ACRYLIC BLOCKS
Acrylic blocks are made of high-quality plastic that requires little maintenance under normal conditions. By following a few simple directions, your acrylic block panels will provide beauty and privacy for years to come.
Under normal conditions, simply wash the acrylic block with a mild soap or detergent and lukewarm water. A quality plastic cleaner can also be used. Use a sponge or soft cloth to avoid scratching. Rinse well with water. Pledge® furniture polish may be used after cleaning for a sparkle shine and to make future cleaning easier.
When selecting cleaning products, read the manufacturers’ label to ensure it is safe for use on acrylic.
USE:
Mild soap and water
Products approved for use on plastics
Furniture polish, such as Pledge® for extra shine and easier future cleaning
DO NOT USE:
Tile cleaners
Abrasive cleaners such as Tilex® or SoftScrub®
Harsh cleaners. Check label for compatibility with acrylic
Benzene, acetone, gasoline, paint thinner, or any product containing isopropyl alcohol
Scrub brushes
Important: DO NOT CLEAN in hot sun or at elevated temperatures.

Why Choose Outwater’s Interlocking Acrylic Blocks?
✅ Scratch-Resistant: Keeps clarity and polish long term
✅ Low Maintenance: Easy to clean with soap and water
✅ Weather-Resistant: Built for indoor and outdoor use
✅ Privacy-Enhancing: No need for curtains or blinds
✅ Easy Installation: Smart interlocking system with Outwater’s clips and T-moulding
✅ Made in USA: Premium quality you can trust