How to Install Faux Wood Ceiling Beams by Outwater
Faux Wood Beams offer a simple and affordable way to accentuate ceilings, and add rustic charm to any room. Molded from high-density polyurethane, they are lightweight, easy to handle, and maintenance free. Unlike real lumber, faux wood beams will not crack, rot or harbor termites, making it a great choice for any indoor or outdoor setting.
INSTALLING YOUR FAUX WOOD BEAM
Materials:
Measuring tape
Drill
Screws
Woodblocks
Miter box (optional)
Step-by-Step Guide:
Pro Tips for Working with Polyurethane:
Polyurethane foam expands/contracts slightly with temperature variation. Prior to installation, let your beam sit for 10-12 hours so that it can acclimate to the temperature of the room.
Polyurethane cuts cleanly with a band saw or hand saw. Using a miter box ensures perfectly straight cuts every time.
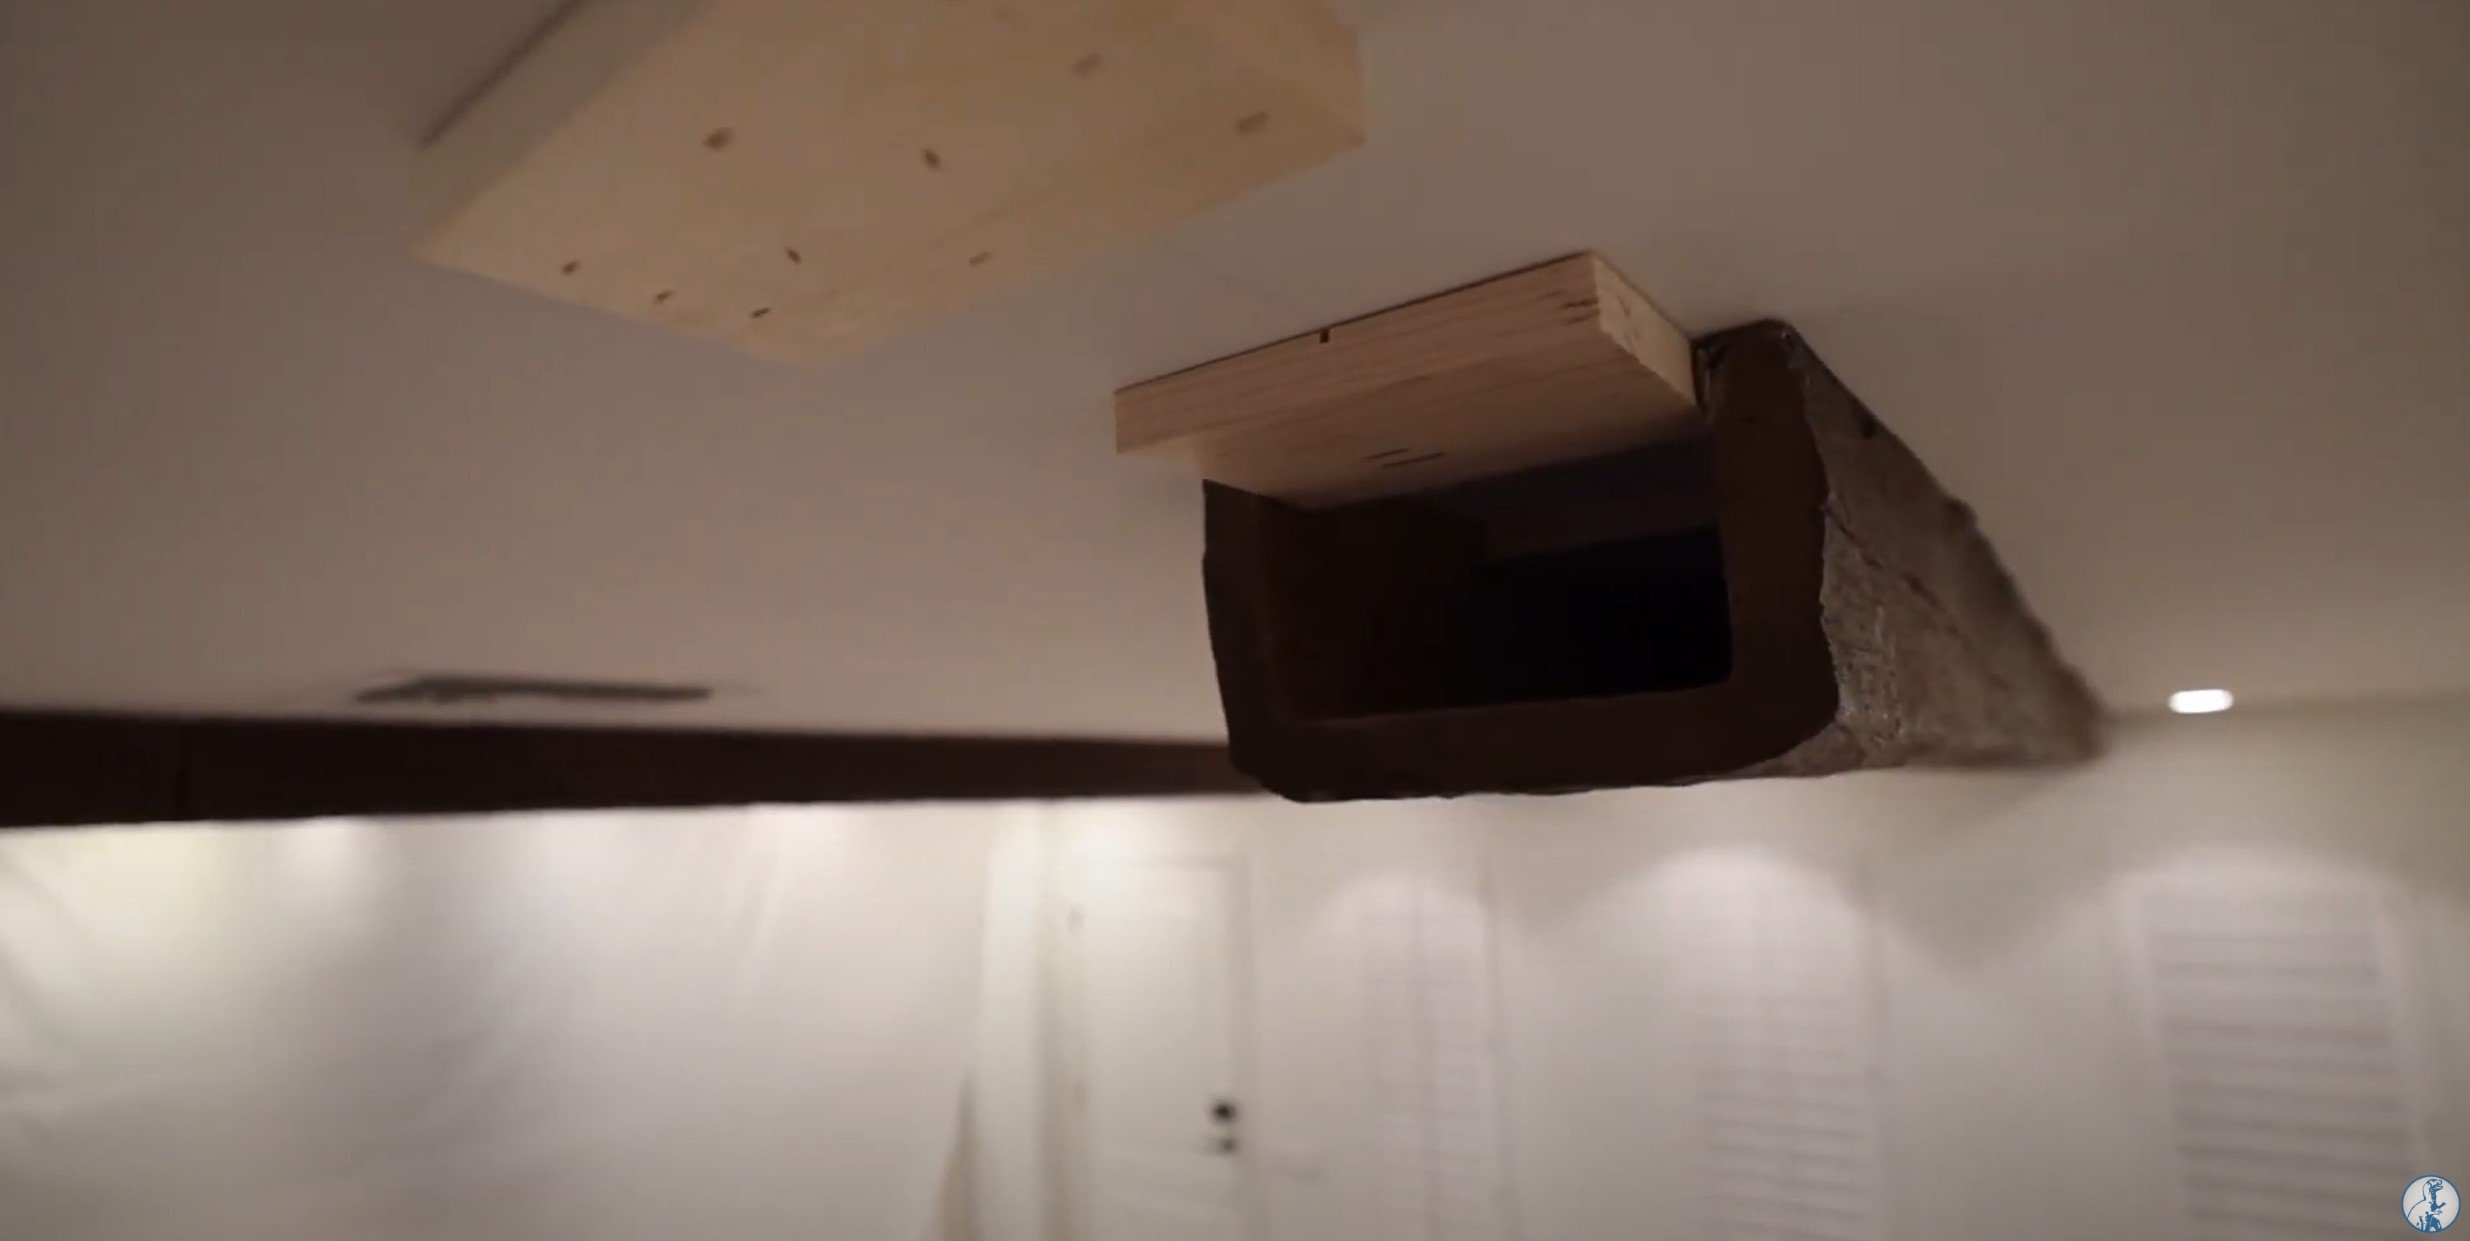
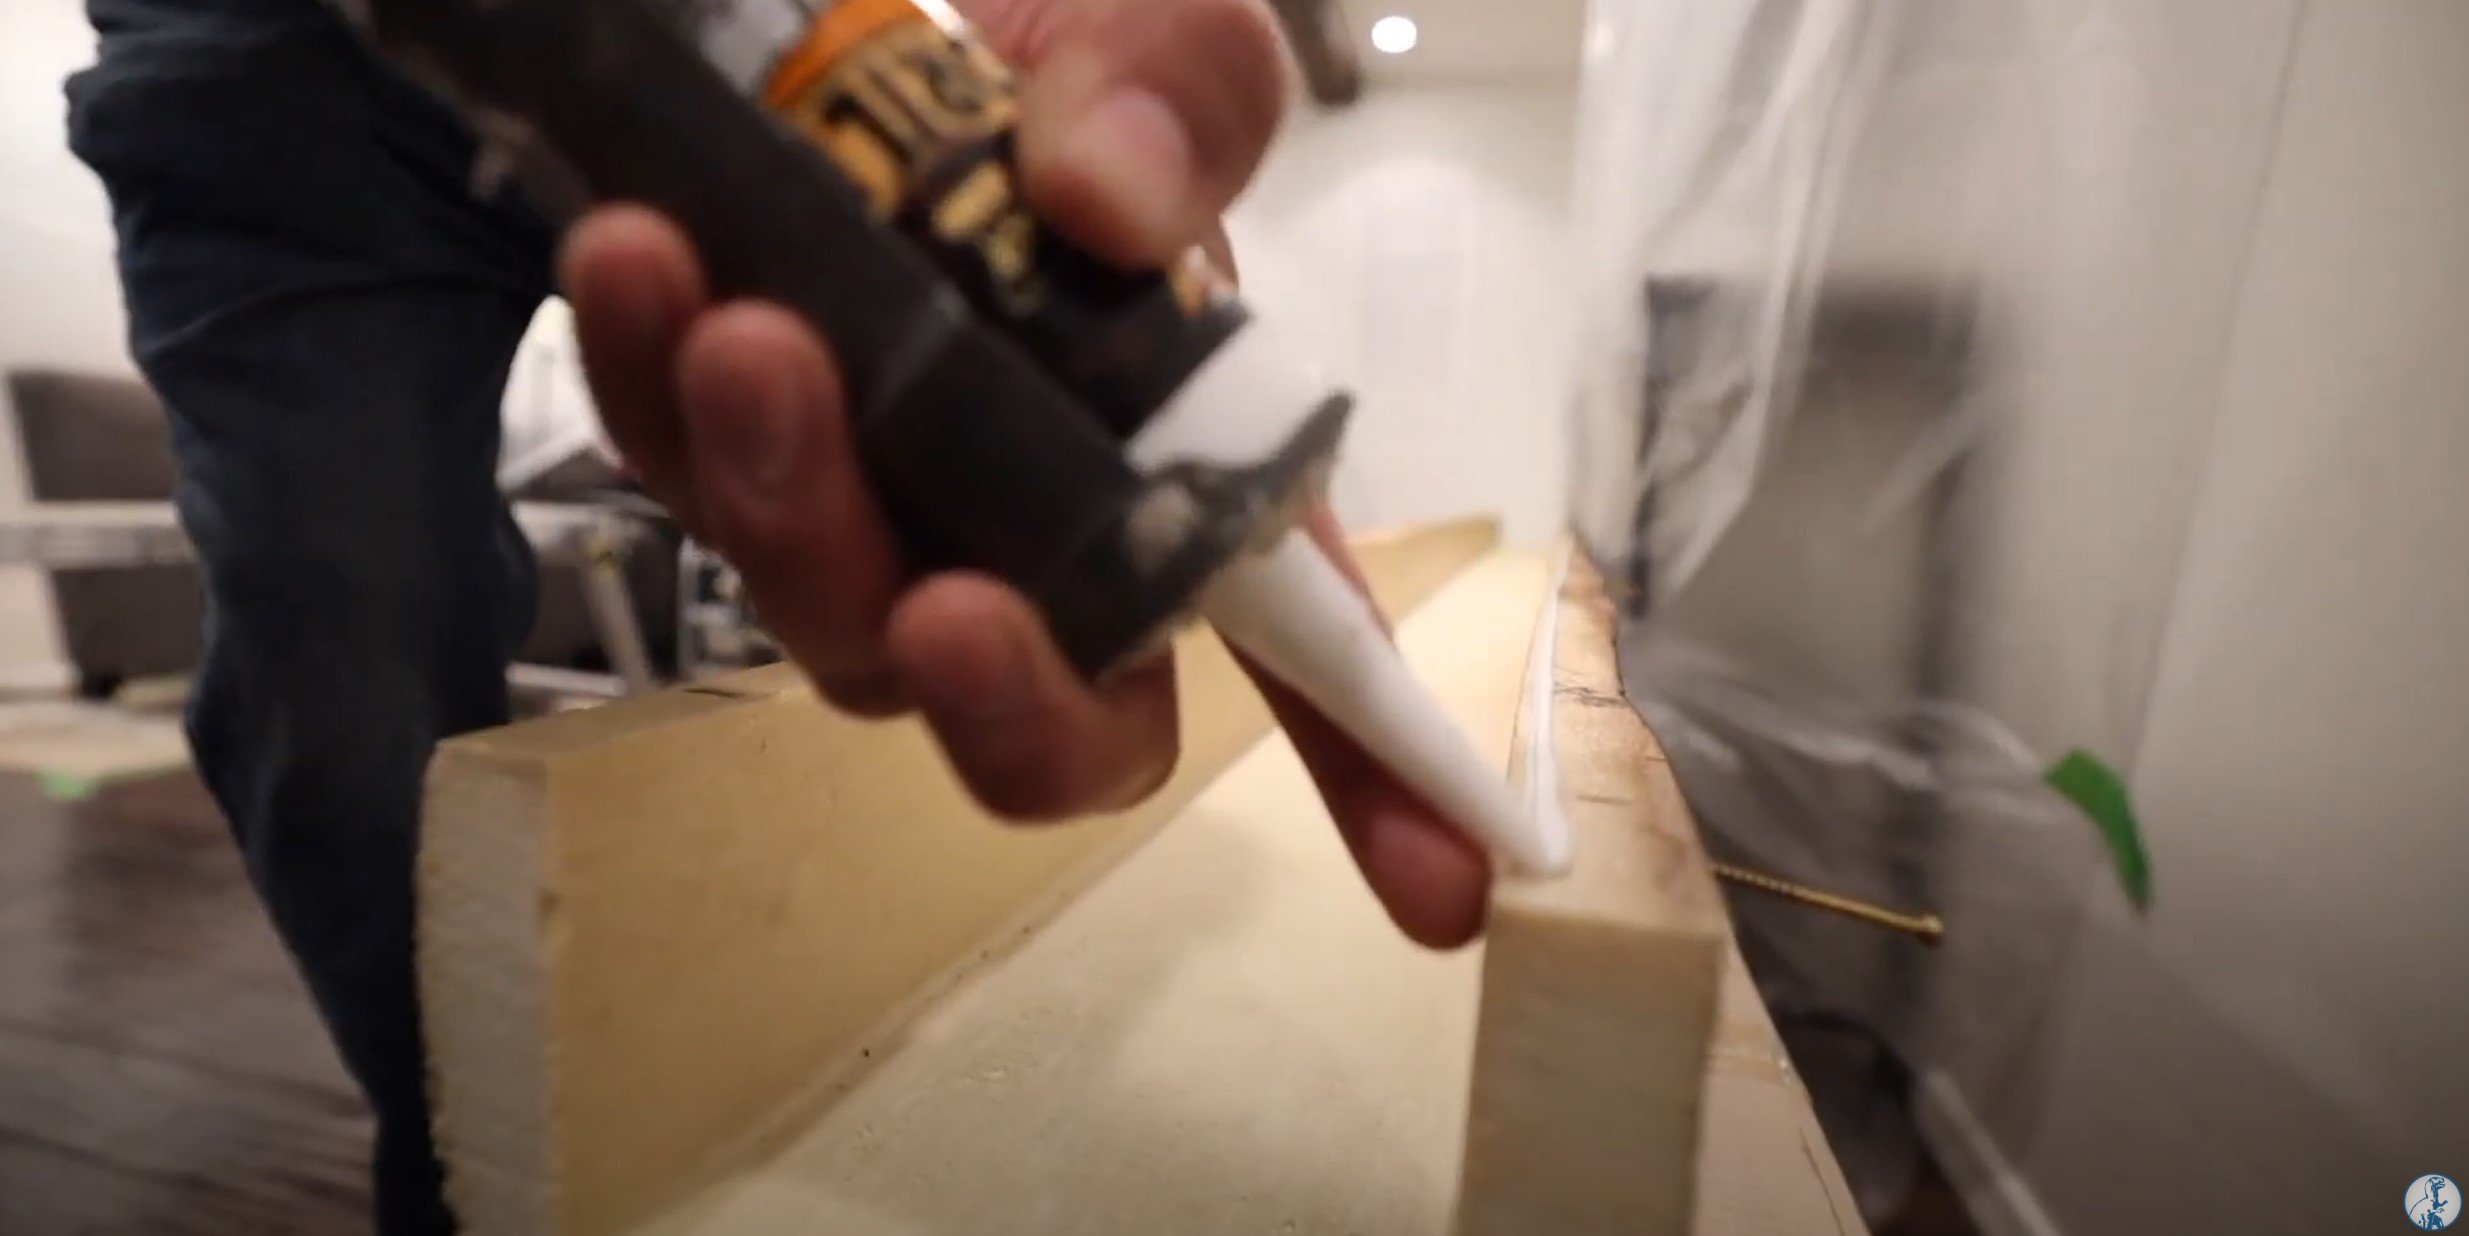
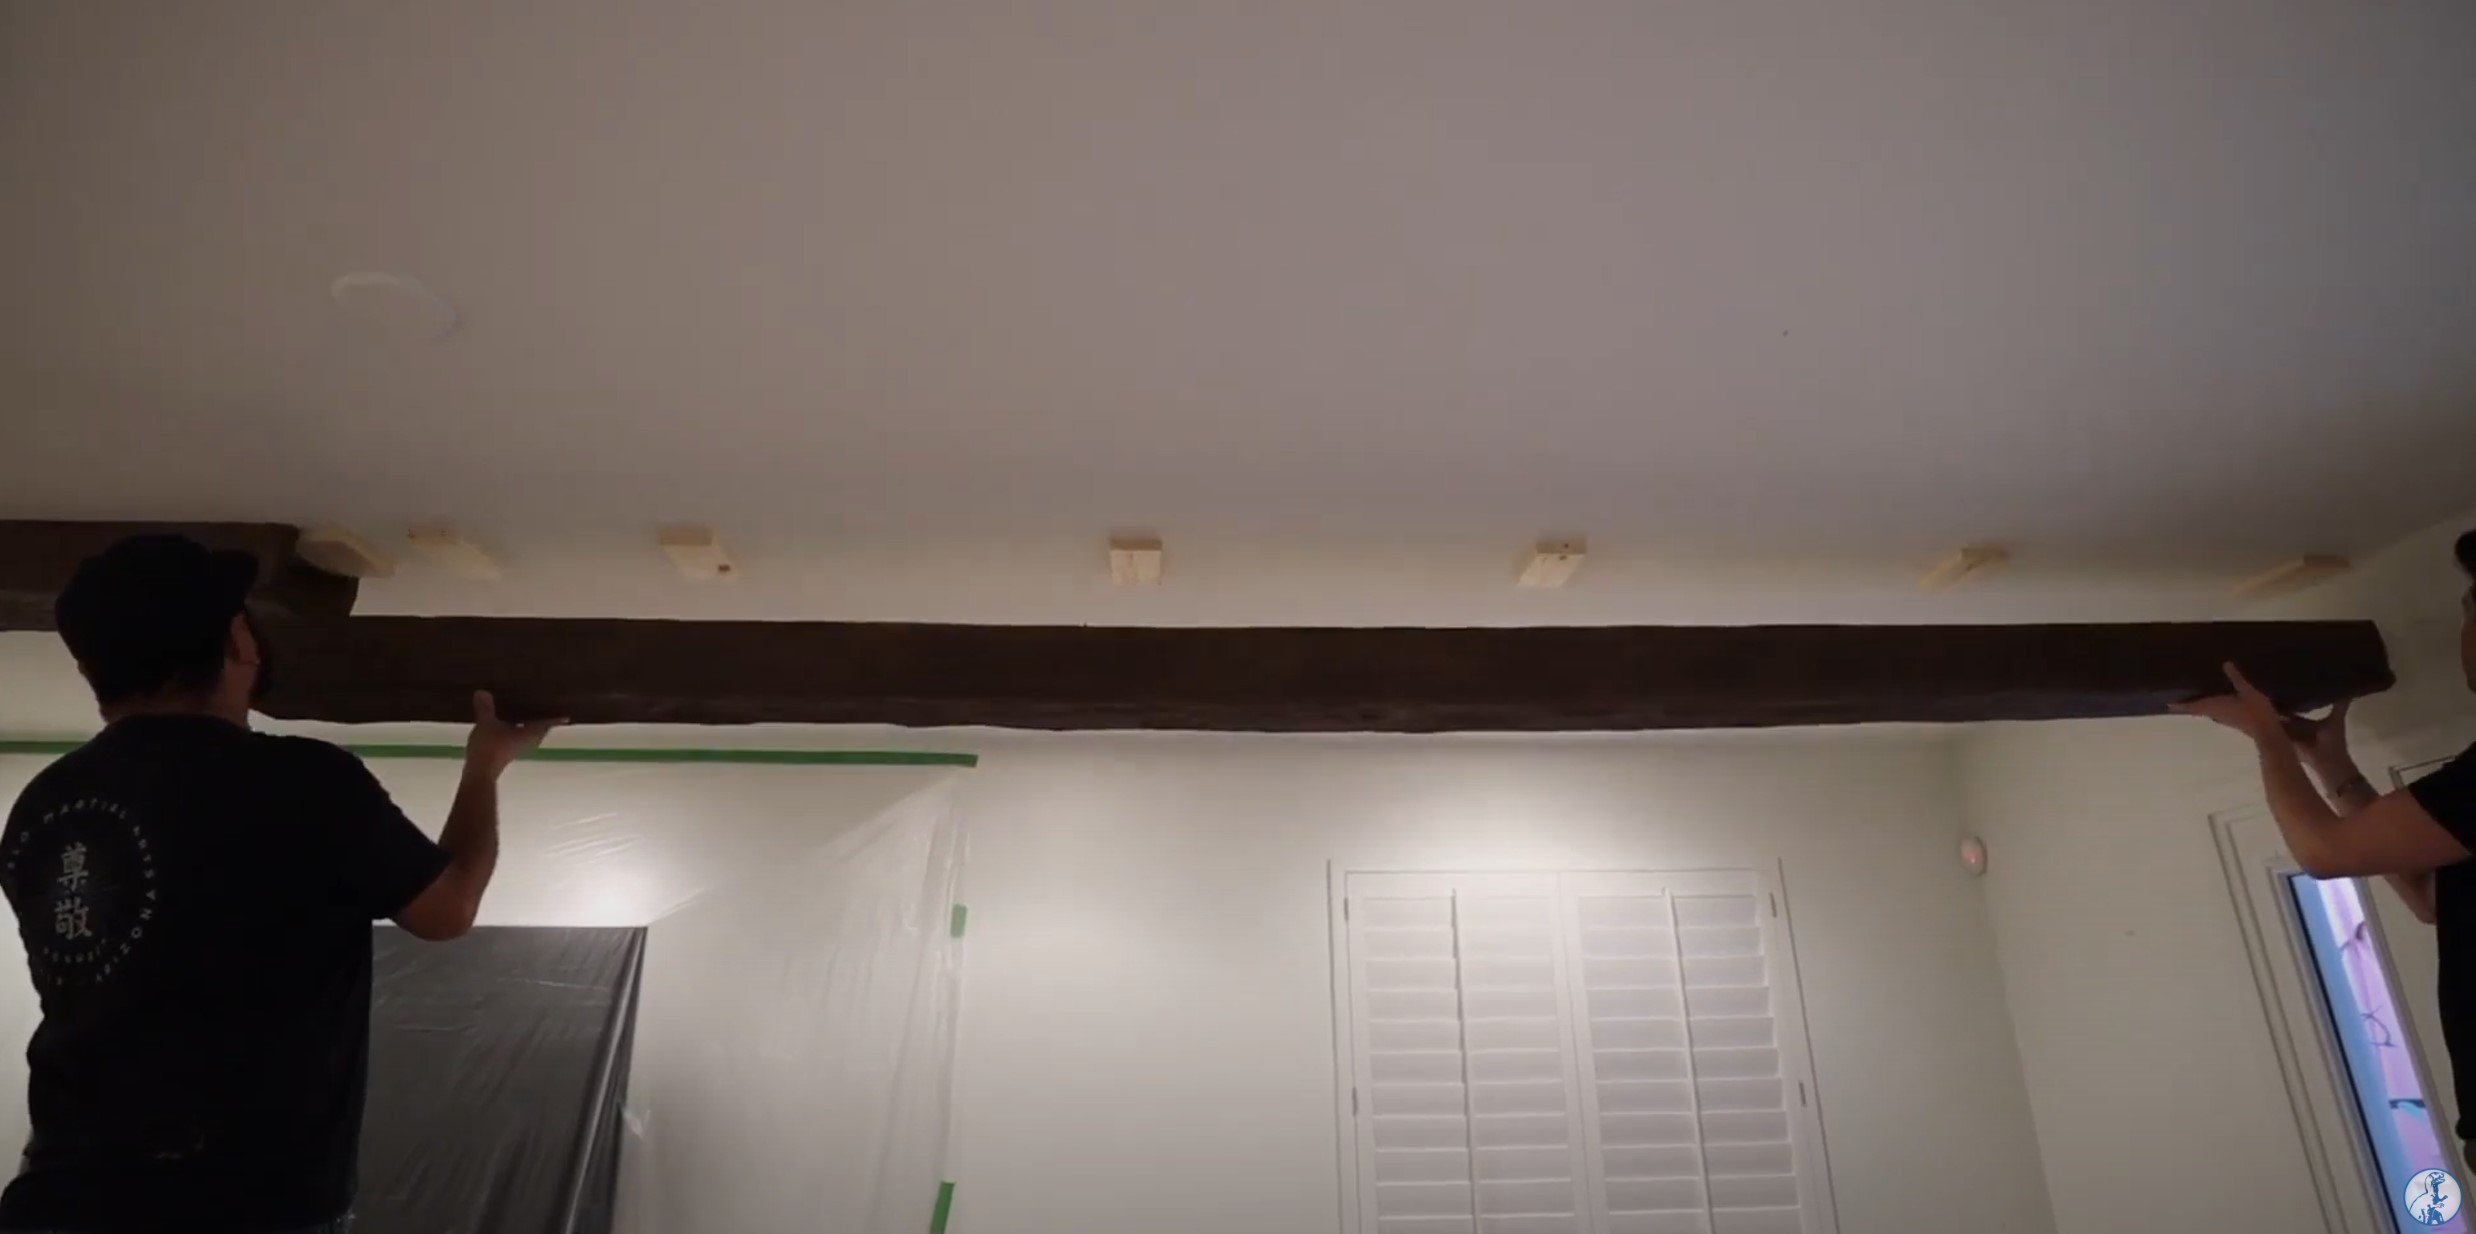
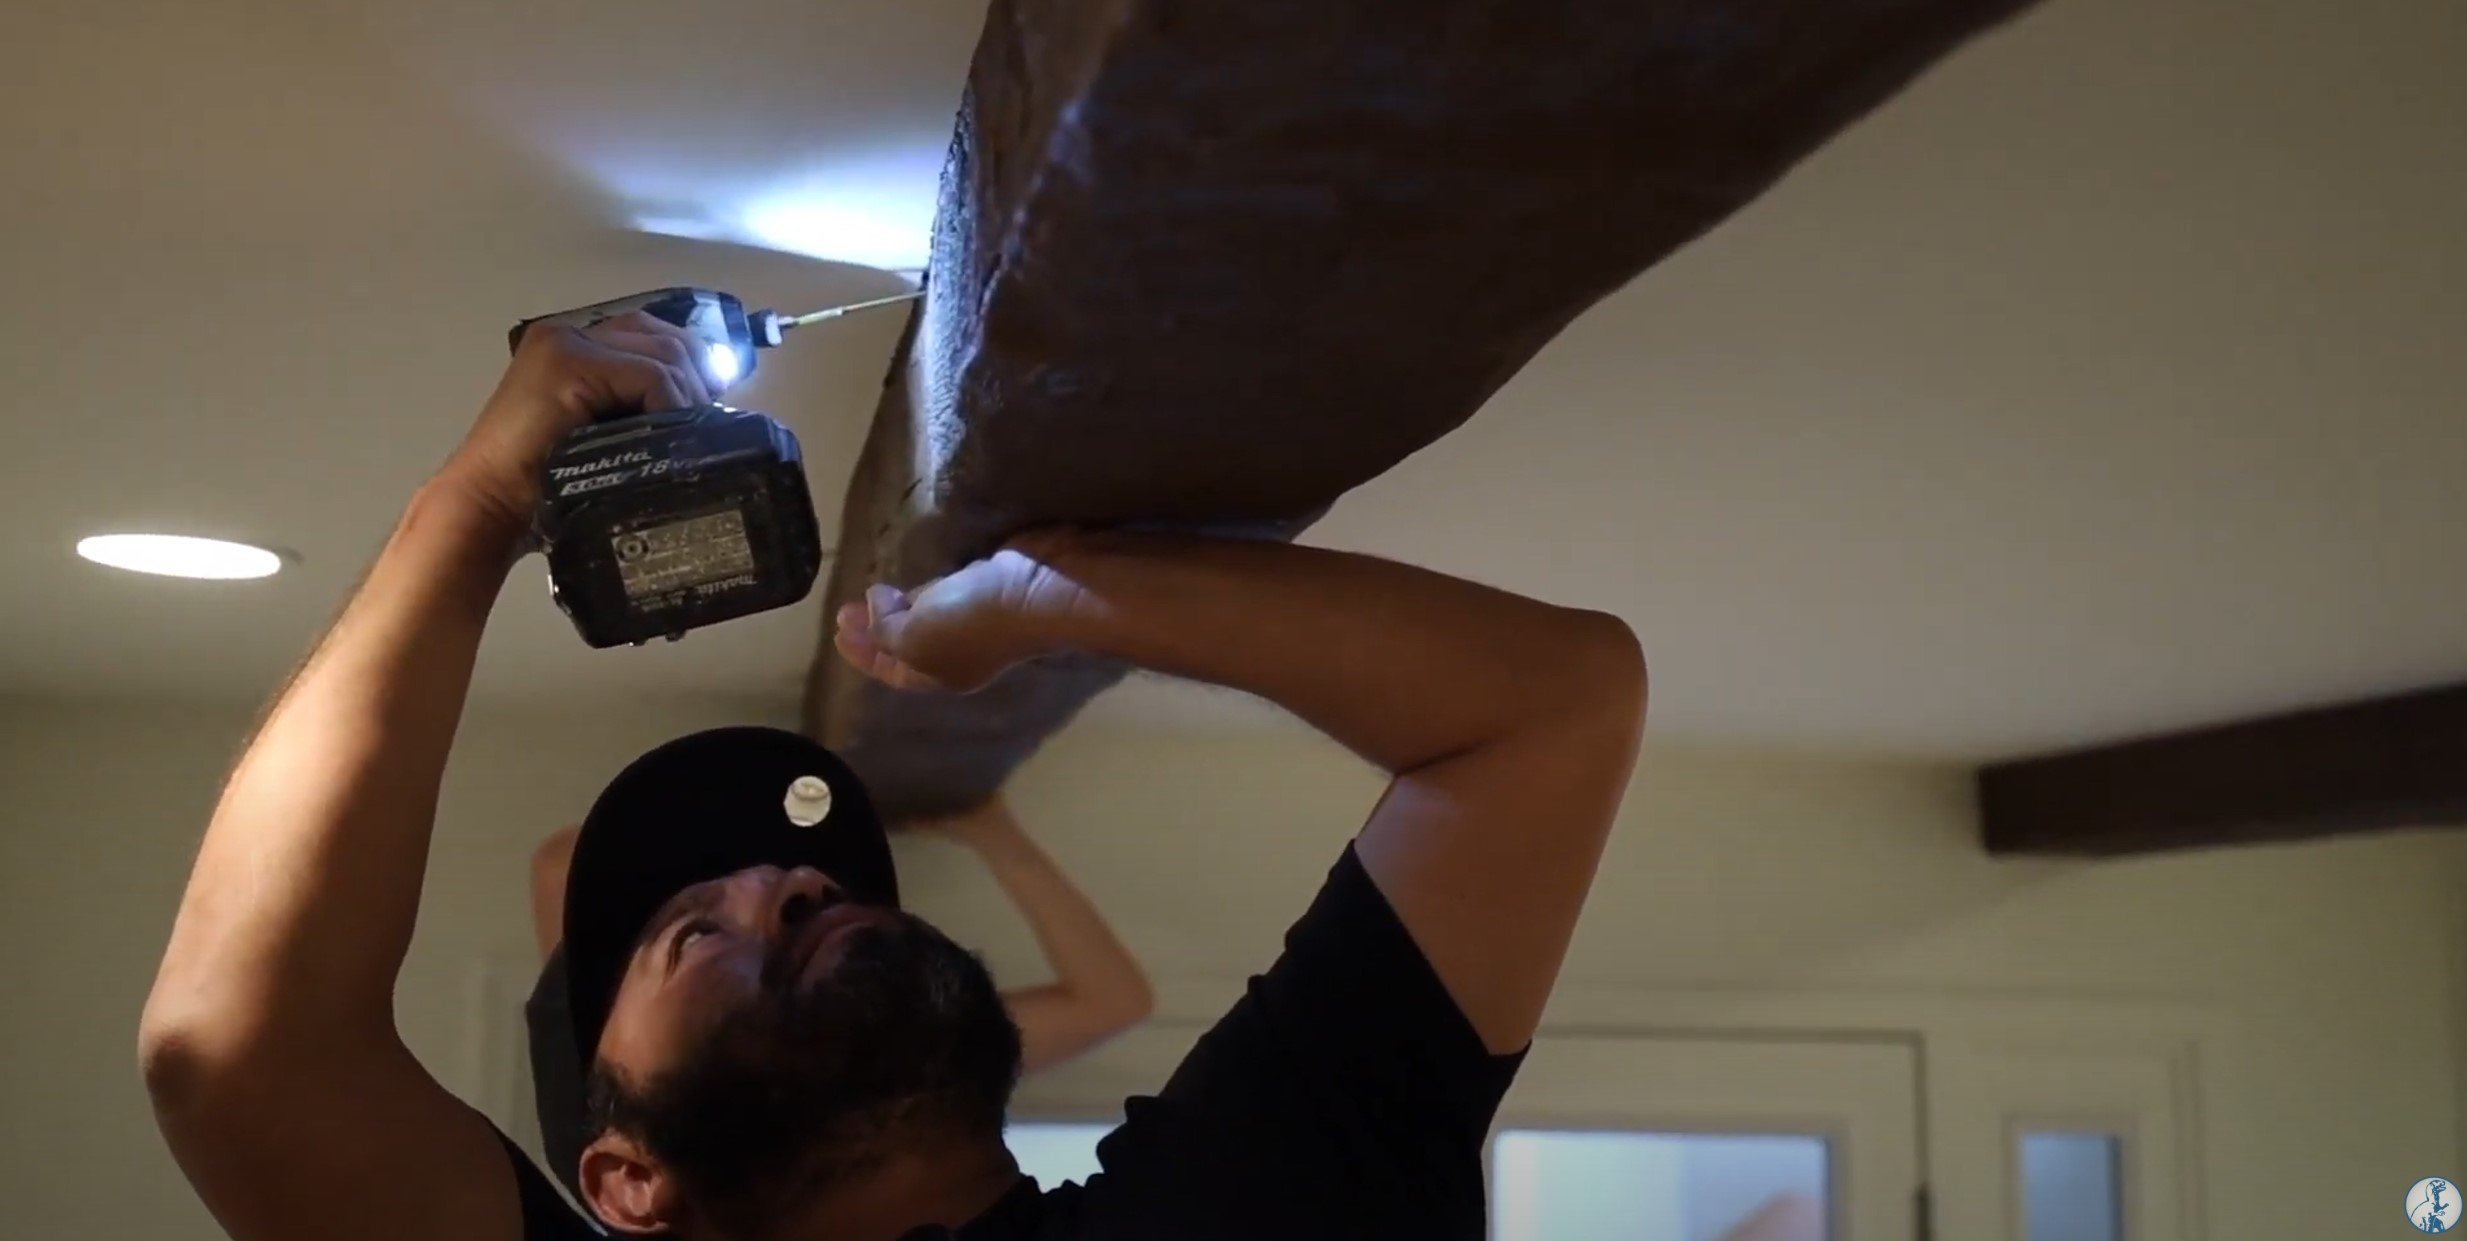
Beam should be mounted on the ceiling with polyurethane construction adhesive and screws/wood blocks only. We do NOT recommend nailing or hammering.
You can patch screw holes with non-shrinking wood putty or polyurethane filler. You may want to tint it to match the beam’s color.
HOW TO PAINT OR STAIN AN UNFINISHED BEAM
Before you begin, please test the paint/stain on a small piece of unfinished beam.
Painting Unfinished Faux Wood Beams:
Unfinished beam products can be painted before or after installation, depending on your application. We recommend using high-quality latex paints (acrylic paints) and/or a water-based primer.
Staining Unfinished Faux Wood Beams:
We recommend the use of Minwax Gel Stain which is available in a variety of colors. Apply to gel stain with a brush or sponge, coating the product with your base color. Next, use a wet sponge to wipe off the appropriate amount of stain to reach the desired shade. Allow this coat to completely dry.
Another option is to use a water-based stain. A water-based primer is recommended before staining.
Want to learn more about Faux Wood Beams? Visit our web page or call us at 1-800-631-8750


